How to Use Ratchet Straps: Thread, Tighten, Release, Tie Off
In this guide
- Before you start: read the label, inspect the strap
- The parts of a ratchet strap
- Step 1: thread the loose end through the mandrel
- Step 2: hook both ends and pull the slack through by hand
- Step 3: tighten to two to four wraps, not to the limit of your arm
- Step 4: lock the handle flat
- Step 5: tie off the tail so it cannot flap or unwind
- Releasing the strap
- Common mistakes and what they cost you
- How many straps, and which strap
- After the trip
A ratchet strap has four jobs: thread, tighten, lock, release. Thread the loose end up through the slot in the mandrel from underneath, pull the slack through by hand until the webbing is snug, crank the handle until the strap holds two to four wraps and the load cannot move, then fold the handle flat until it clicks. To release, pull the tab on top of the handle and swing it all the way open so the mandrel spins free. Most problems, from a jammed ratchet to a flapping tail, come from skipping one of those steps, and this guide walks through each with the manufacturer instructions and the industry standard behind them.
Disclosure: As an Amazon Associate I earn from qualifying purchases. AUGO, featured below, pays a bonus commission through Amazon Creator Connections. See /disclosure/.
Before you start: read the label, inspect the strap
Every synthetic tie-down sold for cargo use should carry a tag with the manufacturer’s name and the working load limit (WLL) in pounds and kilograms. The WLL, not the break strength printed on the box, is the number you plan around; the difference is explained in working load limit vs break strength. If the tag is missing or unreadable, the federal rule for commercial vehicles, 49 CFR 393.108, assigns unmarked webbing a default WLL by width (1,750 lb for 1-3/4 in, 2,000 lb for 2 in) and the insurer-published inspection guidance says to remove it from service. Either way, treat an unlabeled 1 in strap as a light-duty strap.
Then look the strap over. Rhino USA’s instructions say to check before every use for frays, cuts, weak spots, broken stitching, rust, and bent or cracked hooks, and not to use a strap with any of them. 49 CFR 393.104(b) says the same thing in regulatory language: tiedowns must be in proper working order with no damaged or weakened components such as cracks or cuts. A strap with a cut edge has lost an unknown fraction of its strength, so there is no safe way to derate it; retire it. The full inspection list is in how to store, inspect and retire ratchet straps.
The parts of a ratchet strap
Knowing the names makes the steps easier to follow.
| Part | What it does |
|---|---|
| Fixed end | Short piece of webbing sewn to the ratchet, with a hook on the end |
| Loose end (tail) | Long webbing with the other hook; this is the end you thread |
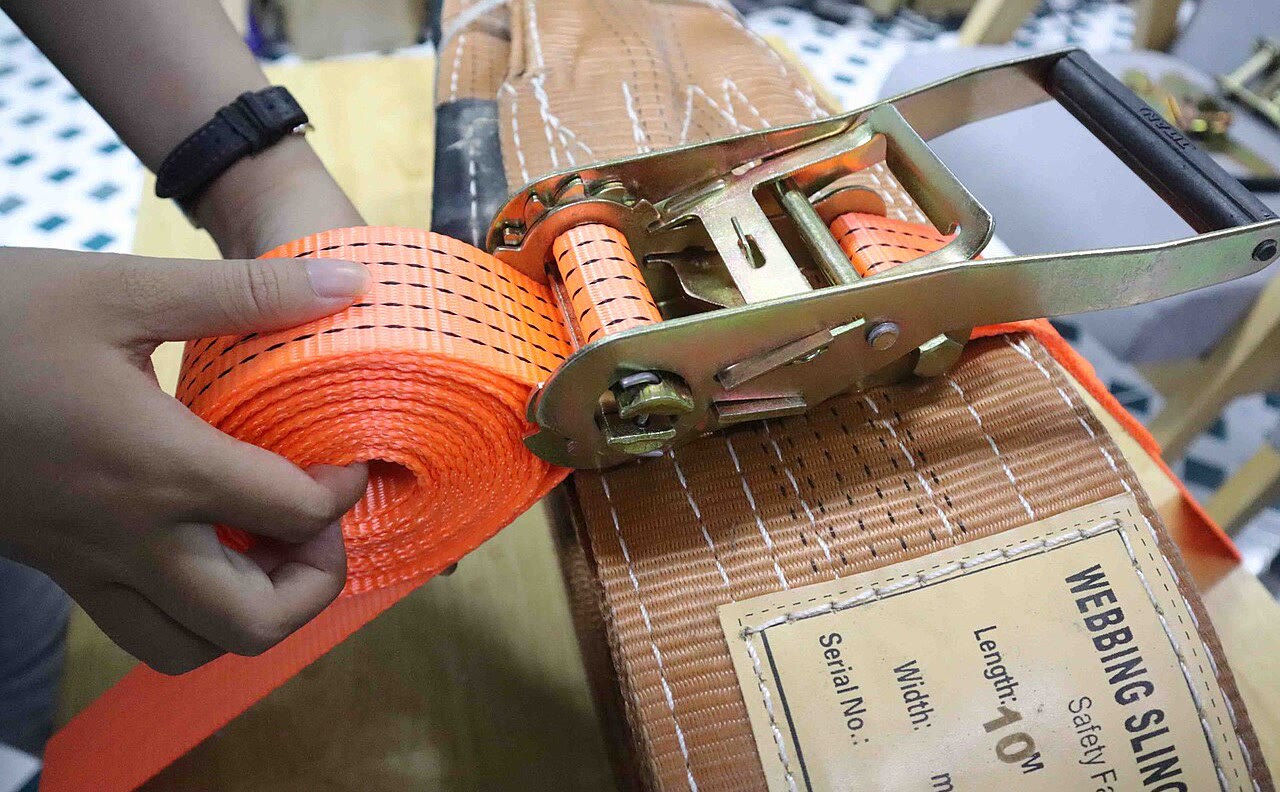
| Mandrel (spool, axle, windlass) | The slotted axle inside the ratchet that the webbing winds onto |
| Handle | Lever you pump to turn the mandrel one tooth at a time |
| Pawls | Spring-loaded teeth that stop the gear from turning backward |
| Release tab (plunger, lever) | Spring-loaded plate on the handle that lifts the pawl so the mandrel can spin free |
| Hooks | S-hooks, J-hooks, flat hooks or snap hooks; see hook types explained |
Manufacturers use different words for the mandrel and the release tab. US Cargo Control calls them the axle and the center spring lever; Keeper calls the tab the release tab and the pawl the paw plate; some instructions call the mandrel the windlass. They are the same parts.
Step 1: thread the loose end through the mandrel
- Hold the ratchet with the handle pointing up and pull the release tab so the handle opens. You want the slot in the mandrel exposed and facing you. If the slot is hidden, pump the handle a click or two until it lines up; US Cargo Control’s instructions say to crank until the slot points outward.
- Feed the loose end up through the slot from the bottom of the ratchet, over the top of the mandrel, and back toward you. Rhino USA describes the same path: through the center slot of the mandrel from the bottom, then back over the spindle.
- Pull the webbing all the way through so it lies flat with no twist. A half-twist that enters the mandrel will bind on the first wrap and is the most common cause of a strap that will not tighten or release cleanly.
Step 2: hook both ends and pull the slack through by hand
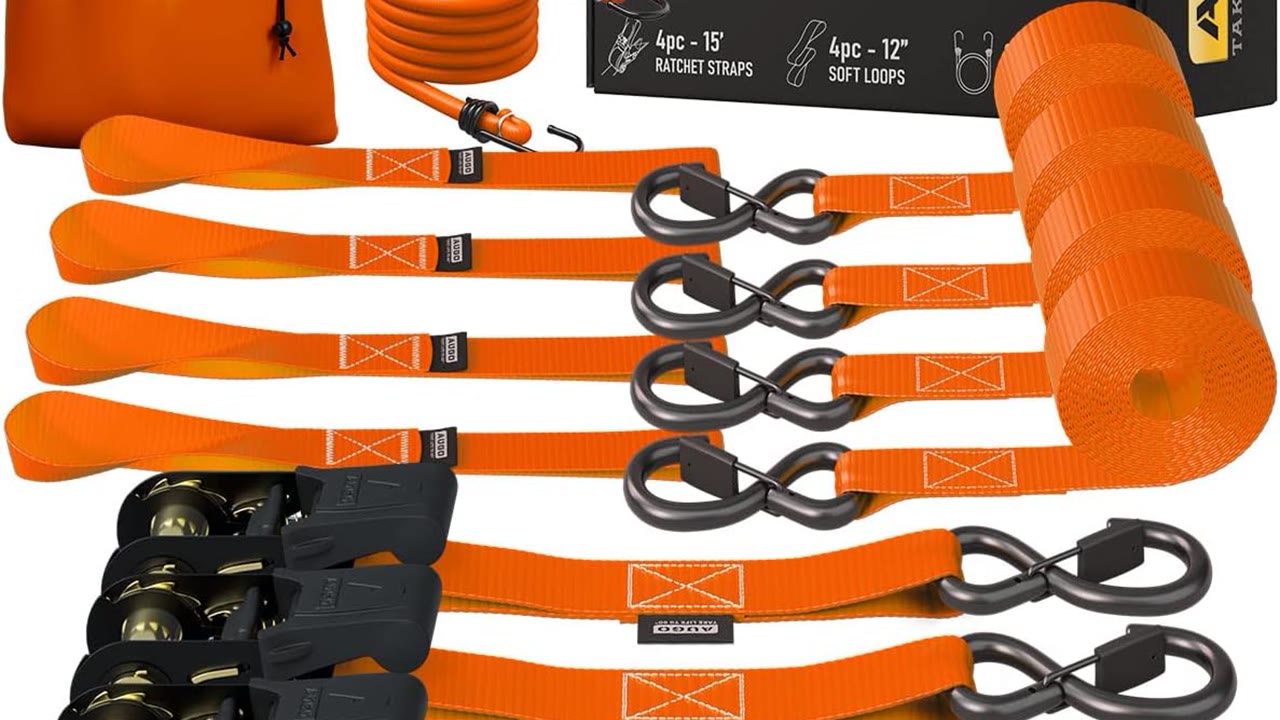
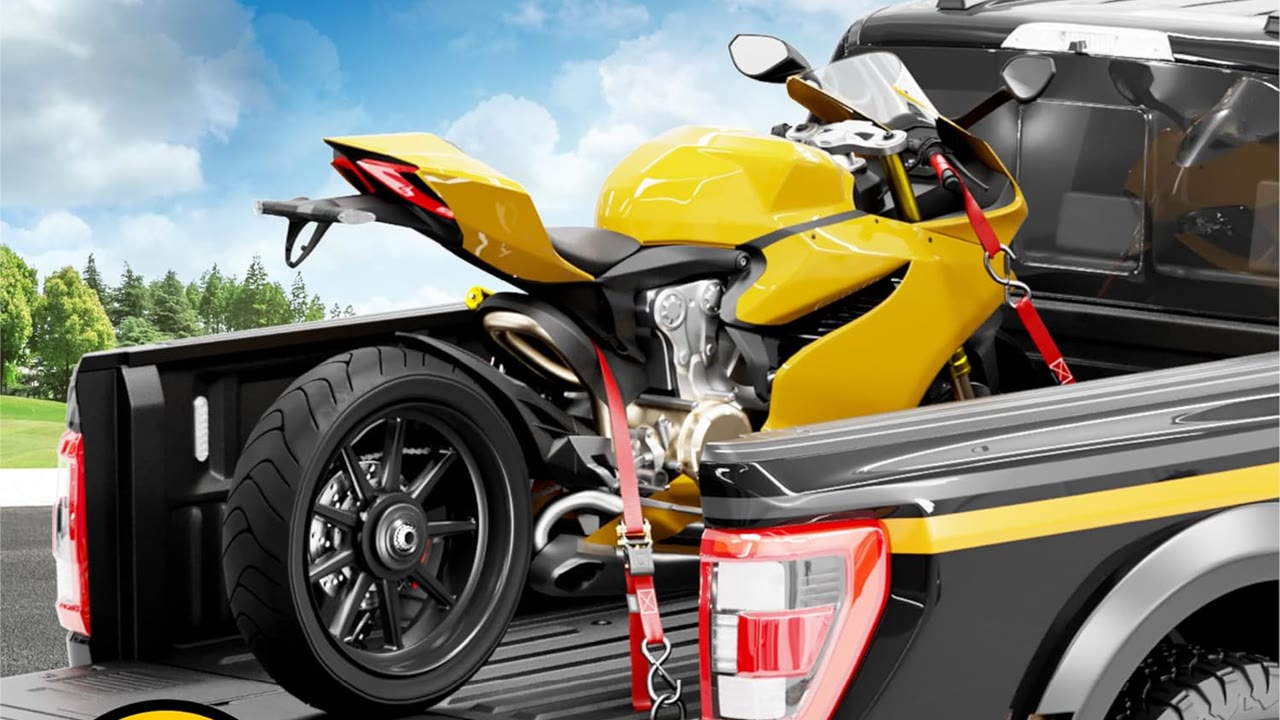
Attach the fixed-end hook and the loose-end hook to anchor points that are solid and rated for the job. Rhino USA’s instructions say hooks must be fully seated on stable anchor points; a hook resting on the tip of a bed rail or hooked into trim will let go under vibration. For a motorcycle or anything with painted bars, girth-hitch a soft loop around the bar and hook into the loop instead of the metal; the AUGO Heavy Duty 4-pack includes soft loops for exactly that use, and a soft loop guide covers the hitch.
Now hold the ratchet body in one hand and pull the tail away from the ratchet with the other until the strap is snug by hand. This is the step people skip, and it decides whether the ratchet works. US Cargo Control’s steps say to remove the slack by pulling the tail before cranking, keeping a firm grip on the handle so the strap does not slip back. Each pump of the handle only winds a few inches, so if you leave three feet of slack you will fill the mandrel with loose wraps before the strap ever gets tight.
Step 3: tighten to two to four wraps, not to the limit of your arm
Pump the handle up and down. Each stroke turns the mandrel one or more teeth and winds webbing on; one source puts it at roughly three full strokes per revolution of the mandrel, though that varies with the ratchet. Stop when:
- the load cannot be shifted by pushing on it, and
- the mandrel holds two to four wraps of webbing.
The wrap count matters. US Cargo Control quotes section 4.6.8 of the WSTDA tie-down standard: a minimum of two and a maximum of four wraps on the winch or ratchet mandrel, and it adds that excess wraps can reduce the tie-down’s working load limit. Too few wraps and the strap is held by friction on a bare axle and can slip; too many and the webbing stacks up, loses leverage, and jams the pawl so you cannot release it later. If you reach four wraps and the load is still loose, the strap was too long for the span: release it, pull more slack through by hand, and re-tension.
Do not keep cranking because the handle still moves. A 1 in ratchet can pull more than a kayak hull, a cabinet made of particleboard or a motorcycle’s fork springs are built to take. Rhino USA’s safety page warns that over-tightening can damage cargo and produce “less than optimal” strap conditions. For hulls and other crushable loads a cam buckle is usually the better tool; cam buckle vs ratchet straps covers when.
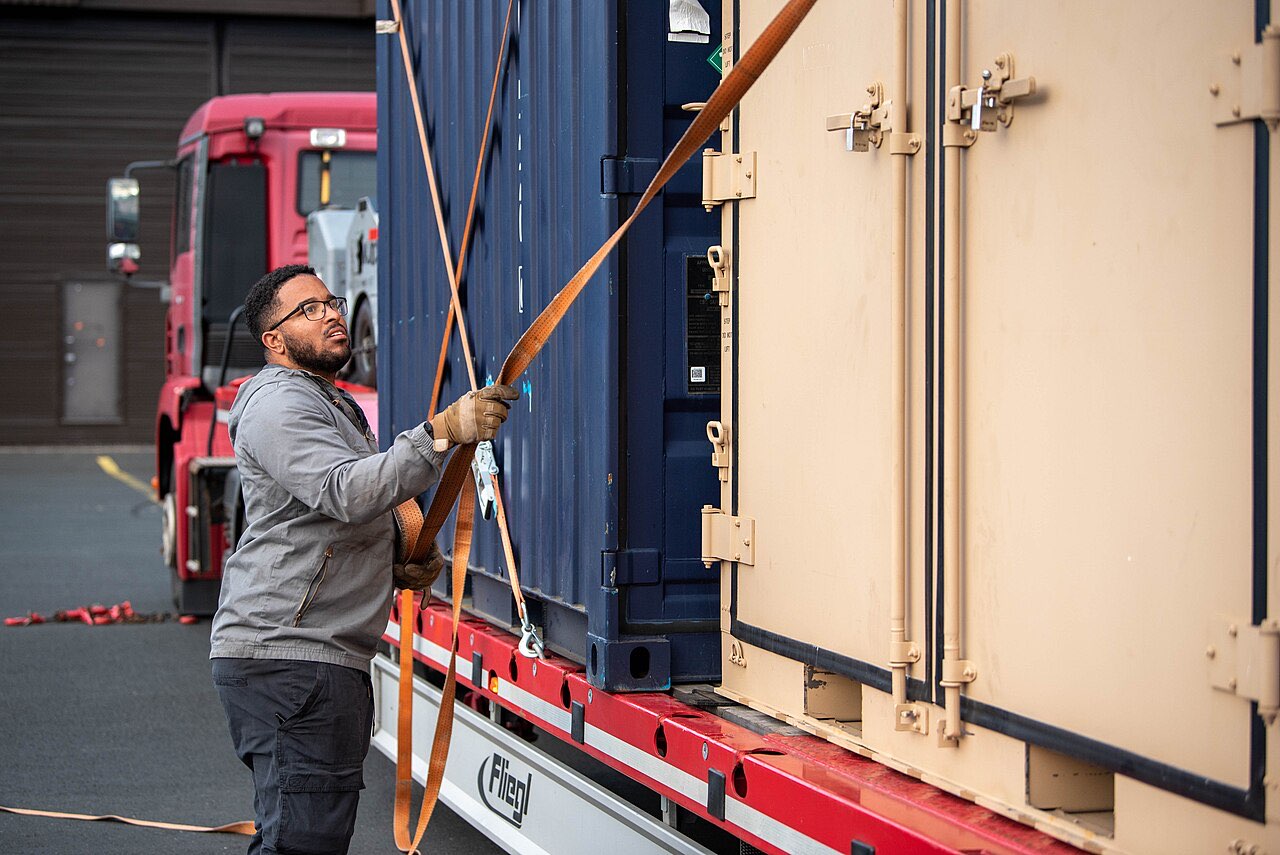
Wherever the webbing crosses an edge, put something between them. 49 CFR 393.104(f)(4) requires edge protection whenever a tiedown would be cut or abraded, and the same logic applies to a pickup: a strap tensioned over the corner of a steel toolbox or a lumber bundle is being sawed every time the load moves.
Step 4: lock the handle flat
Fold the handle down against the ratchet body until it clicks. Rhino USA says to close the handle completely until you hear the click, which confirms the pawl is seated. US Cargo Control says to pull the center lever and fold the handle flat against the assembly. A handle left standing up is not locked: road vibration can walk it open. Once locked, grab the strap mid-span and push on the load once more; then plan to recheck after the first few miles, because Rhino USA’s instructions note that vibration loosens straps on long trips.
Step 5: tie off the tail so it cannot flap or unwind
Whatever webbing is left is called the tail or dog ear. Left loose it hums, flaps, frays against the bed rail, and can work the hook loose. Options, in order of preference:
| Method | How | Good for |
|---|---|---|
| Half-hitch on the loaded strap | Pass the tail under the tensioned span and back through itself, then snug it | Any strap with 1-3 ft of tail; quick and holds in wind |
| Bundle and tie | Fold the tail in hand-length loops, wrap it with a zip tie or a strip of webbing | Long tails on 15-20 ft straps; the etrailer-published method |
| Twist the span | Put a half-twist or two in the loaded span before tensioning | Stops the humming on open highway; see how to stop straps flapping |
| Bungee or Velcro keeper | Roll the tail and strap it to the loaded webbing | Repeat users; some kits ship with keepers |
Never tie the tail in a knot inside the loaded span, and do not knot two straps together to make a longer one; the insurer-published synthetic webbing guide that mirrors the WSTDA inspection criteria lists knots as a reason to remove a strap from service. If you are tying off a 15 ft strap on a 6 ft span every weekend, buy a shorter strap or a retractable one; retractable vs standard ratchet straps weighs the trade-off.
Releasing the strap
- Pull the release tab on top of the handle and hold it.
- Swing the handle all the way open, past the tensioning range, until the ratchet lies flat. Keeper’s instructions for its ratchets, which it says apply to most ratchet tie-downs, describe pulling the release tab back, lifting the pawl plate over the automatic stop to the release stop, then opening the handle fully: in the release position the ratchet lies flat and opens 180 degrees.
- With the handle open, the mandrel spins free. Pull the loose end out of the mandrel.
- Unhook both ends only after the tension is off; a hook that lets go under load can snap back.
If the handle stops at about 90 degrees and the strap stays tight, the tab was not pulled far enough, or the mandrel is overwrapped and the webbing is wedged against the body. Open the handle as far as it goes, work the wraps loose a turn at a time by pulling the tail, and try again. How to release a stuck or jammed ratchet strap covers rusted pawls and the cases where you end up cutting the webbing.
Common mistakes and what they cost you
| Mistake | What happens | Fix |
|---|---|---|
| Threading from the top of the mandrel | Webbing winds the wrong way and binds the handle | Re-thread from below, over the top, back toward you |
| Not pulling slack through by hand | Mandrel fills with loose wraps, strap never tightens | Hand-tension first, crank last |
| More than four wraps | Lower WLL, jammed release | Release, pull slack through, re-tension |
| Handle left up | Pawl not seated; strap can walk loose | Fold flat until it clicks |
| Over-tightening | Crushed hull, dented fork seals, cracked cabinet | Snug, not maximum; use a cam buckle on crushable loads |
| Hook on an unrated point | Trim or sheet metal tears out | Use rated anchors, D-rings or a soft loop around structure |
| Strap over a sharp edge | Cut webbing under load | Edge protector, moving blanket or a corner guard |
| Tail left loose | Fraying, noise, hook works free | Half-hitch, bundle and tie, or a keeper |
| Relying on break strength | Strap used at 2 to 3 times its WLL | Plan on the WLL; see the WLL article |
How many straps, and which strap
One strap per item is rarely enough. The federal cargo rule for commercial vehicles, 49 CFR 393.110, requires at least two tiedowns on any item longer than 5 ft or heavier than 1,100 lb, and the summed WLL of the tiedowns must be at least half the cargo weight under 393.106(d). Those rules do not apply to a personal pickup, but they are the best rule of thumb available; how many ratchet straps do I need works through the math with a mower, an ATV and a fridge.
For the light loads most people strap, a 1 in strap set is the usual buy. Featured (disclosed relationship): the AUGO Heavy Duty Ratchet Straps 4-pack on Amazon is a 1 in x 15 ft set with a stated 2,200 lb break strength, S-hooks with a safety latch, and soft loops in the box, which covers motorcycles, moving furniture and pickup-bed loads. It is not a trailer strap: anything the size of a car or a UTV needs a 2 in strap in the 3,333 lb WLL class. The spec-based AUGO review goes through what the numbers mean and compares the Rhino USA, Amazon Basics and Keeper equivalents. For 2 in work see best 2-inch heavy duty ratchet straps.
After the trip
Release the straps, brush off grit, let wet webbing dry before it goes in a bag, and store the set out of sunlight. Rhino USA’s care notes say to clean and dry straps after use and keep them in a cool, dry place away from direct sun; UV is the slow killer of polyester webbing. Roll each strap with the hook inside so it does not snag the others, and put the ratchets in a bag rather than loose in a truck bed where they rust. Straps that are stored properly and inspected before each use last for years; straps left tensioned on a trailer in the sun do not.
Sources used for this guide: 49 CFR 393.104 and 393.108 via Cornell LII, Rhino USA’s how-to and safety pages, US Cargo Control’s how to use a ratchet strap article and its WSTDA wrap guidance, and Keeper’s published release instructions, all read in October 2026. Manufacturer instructions change; the leaflet in your strap’s box wins.
Frequently asked questions
Which way does the strap go through the ratchet?
Open the handle, feed the loose end up through the slot in the mandrel (the slotted axle) from underneath, pull it over the top of the mandrel and back toward you, then pull the slack through so the webbing lies flat. Both Rhino USA and US Cargo Control describe the same bottom-up path. If the strap is twisted when it reaches the mandrel, pull it back out and start again.
How many wraps should be on the ratchet?
Two to four wraps of webbing on the mandrel. US Cargo Control quotes WSTDA section 4.6.8: a minimum of two and a maximum of four wraps, and it warns that excess wraps on the mandrel can reduce the working load limit. If you have a foot of tail and the ratchet is already full, the strap was too long for the job or you did not pull enough slack through first.
How do I release a ratchet strap that is tight?
Pull the spring-loaded release tab (the plate on top of the handle) and swing the handle all the way open, about 180 degrees, until it lies flat. In that position the pawls are off the gear and the mandrel spins freely, so you can pull the webbing out. Keeper's instructions say the ratchet lies flat and opens 180 degrees in the release position; if it will not go past about 90 degrees, the tab is not fully pulled.
Can I use a ratchet strap with a knot in it?
No. A knot concentrates load on a few fibers and is listed as a removal-from-service condition in the synthetic webbing guidance that follows the WSTDA inspection criteria, and 49 CFR 393.104(b) prohibits damaged or weakened tiedowns on commercial vehicles. Tie off the tail with a separate hitch, twist or bungee instead, never a knot in the loaded span.
How tight should a ratchet strap be?
Tight enough that the load cannot shift, and no tighter. Rhino USA's instructions warn that over-tightening can damage cargo and the strap, and a ratchet can easily pull harder than a kayak hull, a particleboard cabinet or a motorcycle fork is built to take. Snug the strap, check the load by pushing on it, then recheck after the first few miles because vibration settles loads.
Keep planning
- AUGO Heavy Duty Ratchet Straps Review (4-Pack, 15 ft, 2200 lb)
Spec-based AUGO heavy duty ratchet straps review: what the 1 in x 15 ft, 2,200 lb set is rated for (about 733 lb WLL), who it fits, and what it is not for.
Updated Oct 2026 - Best Ratchet Straps for Motorcycles: What to Buy and How to Strap
The best ratchet straps for motorcycles by published spec: 1" to 1.5" webbing, soft loops, latched hooks, four-point tie, plus how far to compress the forks.
Updated Oct 2026 - How Many Ratchet Straps Do I Need? FMCSA Rules Made Simple
How many ratchet straps you need by cargo length and weight, using the FMCSA tie-down count and aggregate working load limit rules, with worked examples.
Updated Oct 2026